
This Christmas I had a last minute panic about a present for my boyfriend. I had lots of little bits but nothing that tied it all together: in essence, I had no main present. On Christmas Eve an idea suddenly came to me. I rushed out to the fabric shop to get everything and zoomed home to start making it.
Here he is--

As you can see he's made from cream and grey fleece with a red twill background. He has a grey denim backing and opens at the bottom with a chunky red zip.


We both recently became obsessed with Totoro because he's just so damned cute! Here is the reason I made the Totoro cushion: I thought I'd make a friend for a teddy we each have, who looks like this:


The teddy is like me - small and yappy, always got it's mouth open - and the cushion is like the bf - big and less talkative, more sedate.
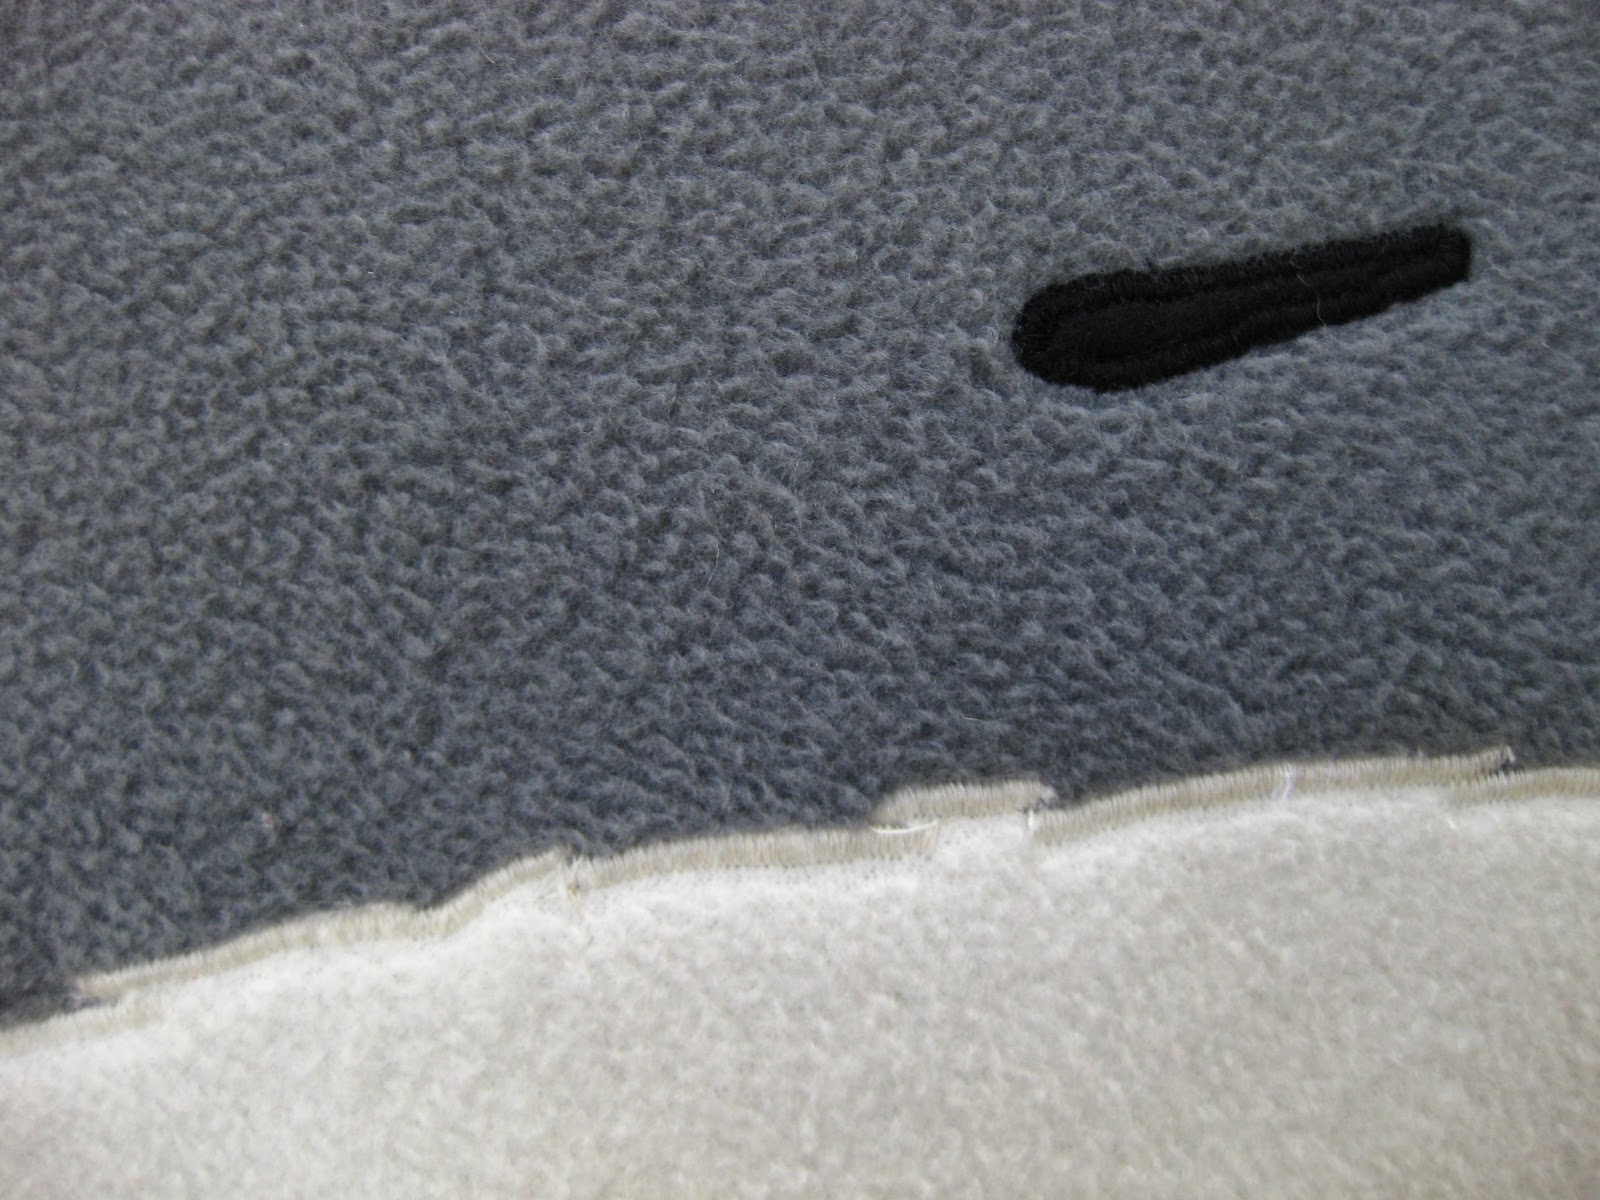
Here are some close-up details of the cushion, which, by the way, really is massive. It's 90cm x 90cm. Why so big? Because I love giving obnoxious presents, is the simple answer! Last summer I brought back from Mexico the biggest sombrero I could find, much to the despair of my travelling companion. It was so big it couldn't fit in my bag so I had to carry it as hand luggage. A man in the queue at immigration even felt the need to say, 'I don't think that hat is big enough.' Ha! I actually quite agreed with him, although he was being sarcastic.


Totoro was surprisingly easy to make. All the zigzag stitching on the appliqué was quite time-consuming, particularly on the fluffy wisps I cut into his belly fur. But it was all still very straightforward considering I didn't use any interfacing. On that point, I decided not to use the old stitch-n'-tear because of the vast size of the appliqué; I didn't want Totoro to feel crispy. He has a profile the size of a person so I wanted him to be soft so you can comfortably sink into him, like the Cup-a-Soup hug-in-a-mug creature. I think using fleece and a backing of twill eliminated the potential for warping and flimsiness you can get when you appliqué ordinary cotton. The eyes, nose and mouth are made from felt which also eliminated the need for stabilising.
I love him. I wish I could be bothered to make myself one. I also wish I had the room to own one!
Alix xxx
Here he is--

As you can see he's made from cream and grey fleece with a red twill background. He has a grey denim backing and opens at the bottom with a chunky red zip.


We both recently became obsessed with Totoro because he's just so damned cute! Here is the reason I made the Totoro cushion: I thought I'd make a friend for a teddy we each have, who looks like this:


The teddy is like me - small and yappy, always got it's mouth open - and the cushion is like the bf - big and less talkative, more sedate.
Here are some close-up details of the cushion, which, by the way, really is massive. It's 90cm x 90cm. Why so big? Because I love giving obnoxious presents, is the simple answer! Last summer I brought back from Mexico the biggest sombrero I could find, much to the despair of my travelling companion. It was so big it couldn't fit in my bag so I had to carry it as hand luggage. A man in the queue at immigration even felt the need to say, 'I don't think that hat is big enough.' Ha! I actually quite agreed with him, although he was being sarcastic.


I love him. I wish I could be bothered to make myself one. I also wish I had the room to own one!
Alix xxx


